2-3. Name, interface group and branding
In this tutorial you will start a fresh configuration and give it a title, an interface group and a colour scheme.
- Open the Config Builder at https://ge-config-builder.apex.esa.int/.
- On the Home tab, edit the Title of the configuration to something of
your choice — for example,
<your name>'s first config. - Move to the Layers tab.
- Edit Interface group 1 and rename it to
Forest Carbon. - Delete the other default interface groups so only Forest Carbon remains.
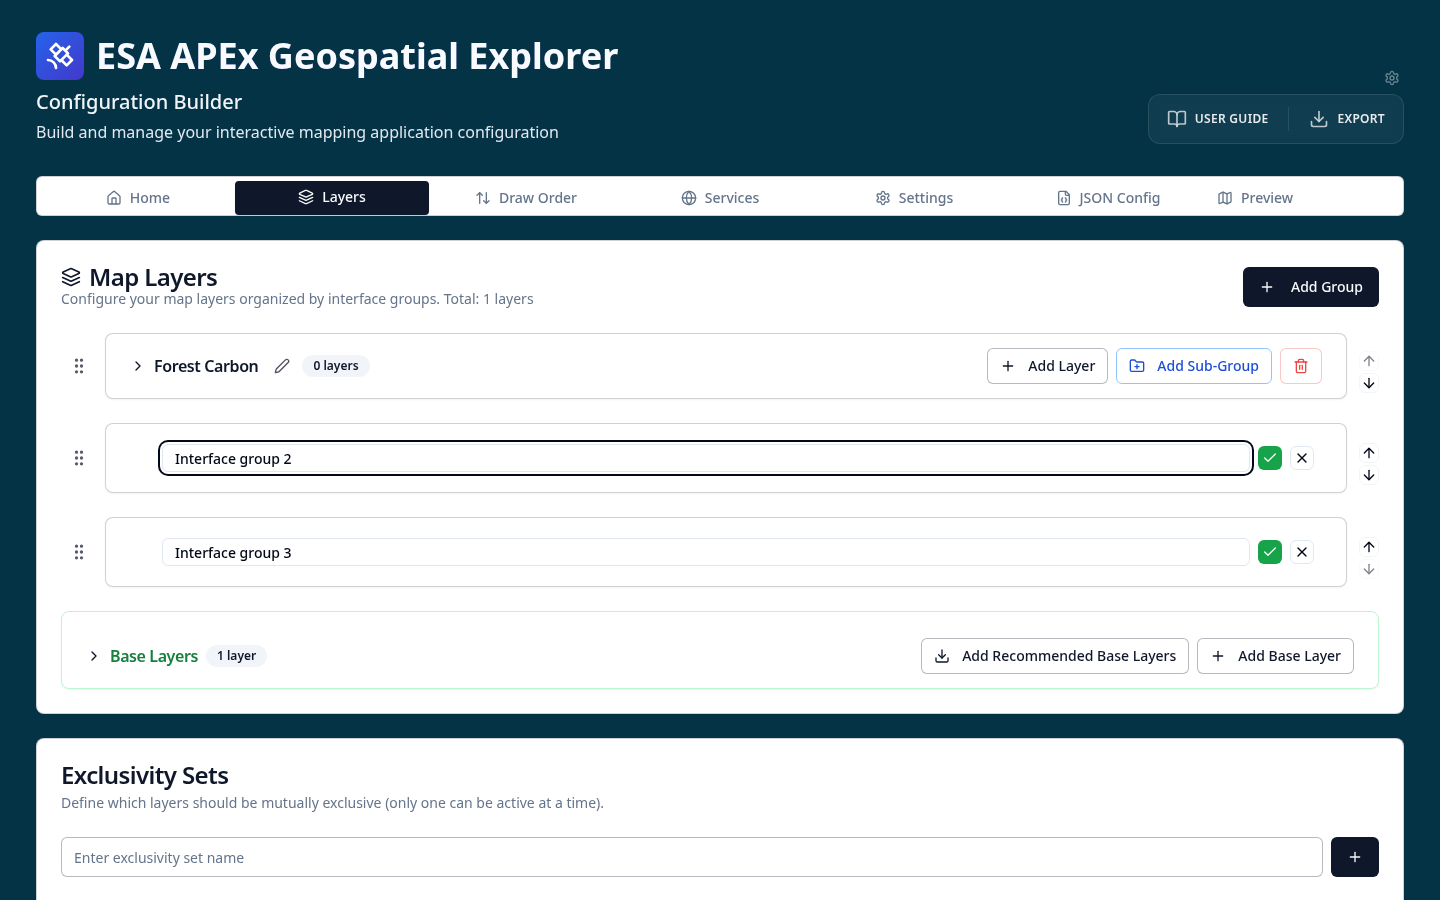
- Move to the Settings tab and change some of the colours to a scheme of your choice.
- Select the GE Preview tab to see the changes applied to a live copy of the Geospatial Explorer.
Your preview might look something like this:
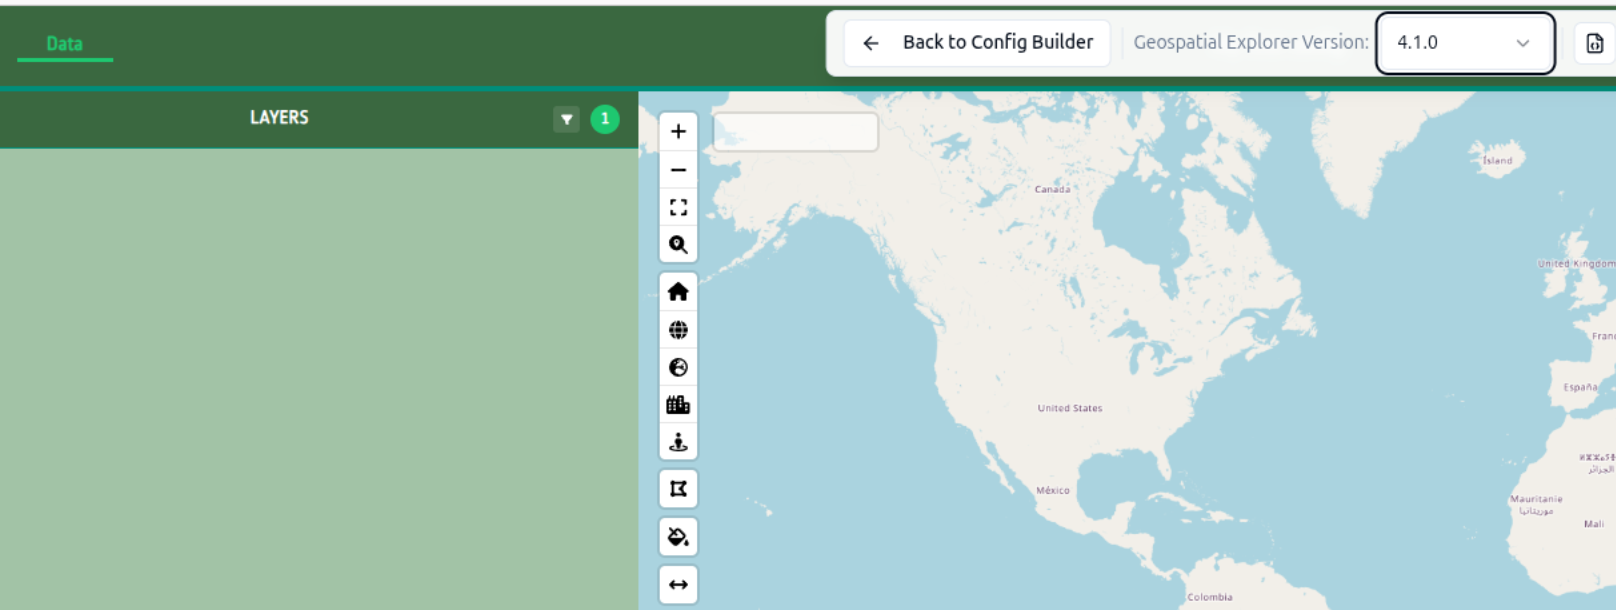
No Forest Carbon interface group displayed?
You will notice that the interface group you renamed to *Forest Carbon in Step 3, is not displayed. Don't worry, this is expected behaviour. The Geospatial Explorer only builds the parts of the interface that have data to show, and we'll do that shortly.