10-3. Simple styling
Simple styling gives every feature the same appearance. We will first outline and label the countries, then use a cross-hatched fill for a much larger field boundary dataset.
Outline and label the countries
-
Open the Countries layer card. Under Data Visualisation, select the Pen next to Vector Styling.
-
In the recipe gallery, select Simple uniform.
-
Keep Symbolise as set to Polygons — fill + outline, choose the colours you want, keep Fill style as Solid, and select Create rule.
-
In the rule editor select the Fill tab, then select Remove fill from this rule. This leaves a simple outline. Under Add another rule, select Feature labels, choose the
namefield, and select Create rule.
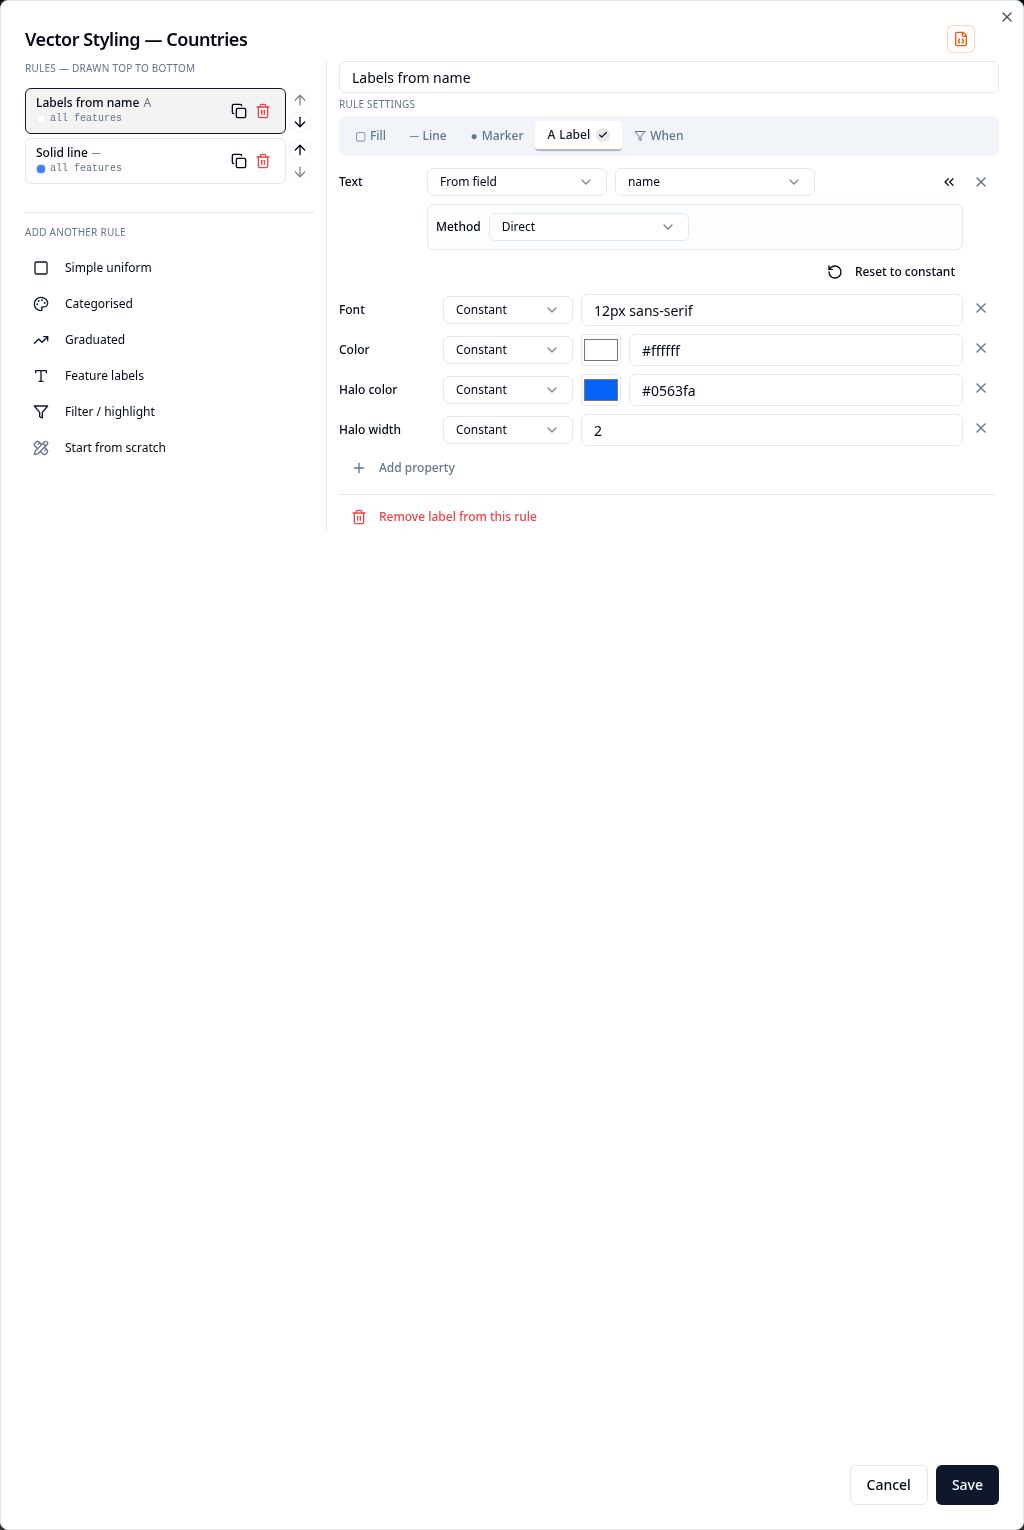
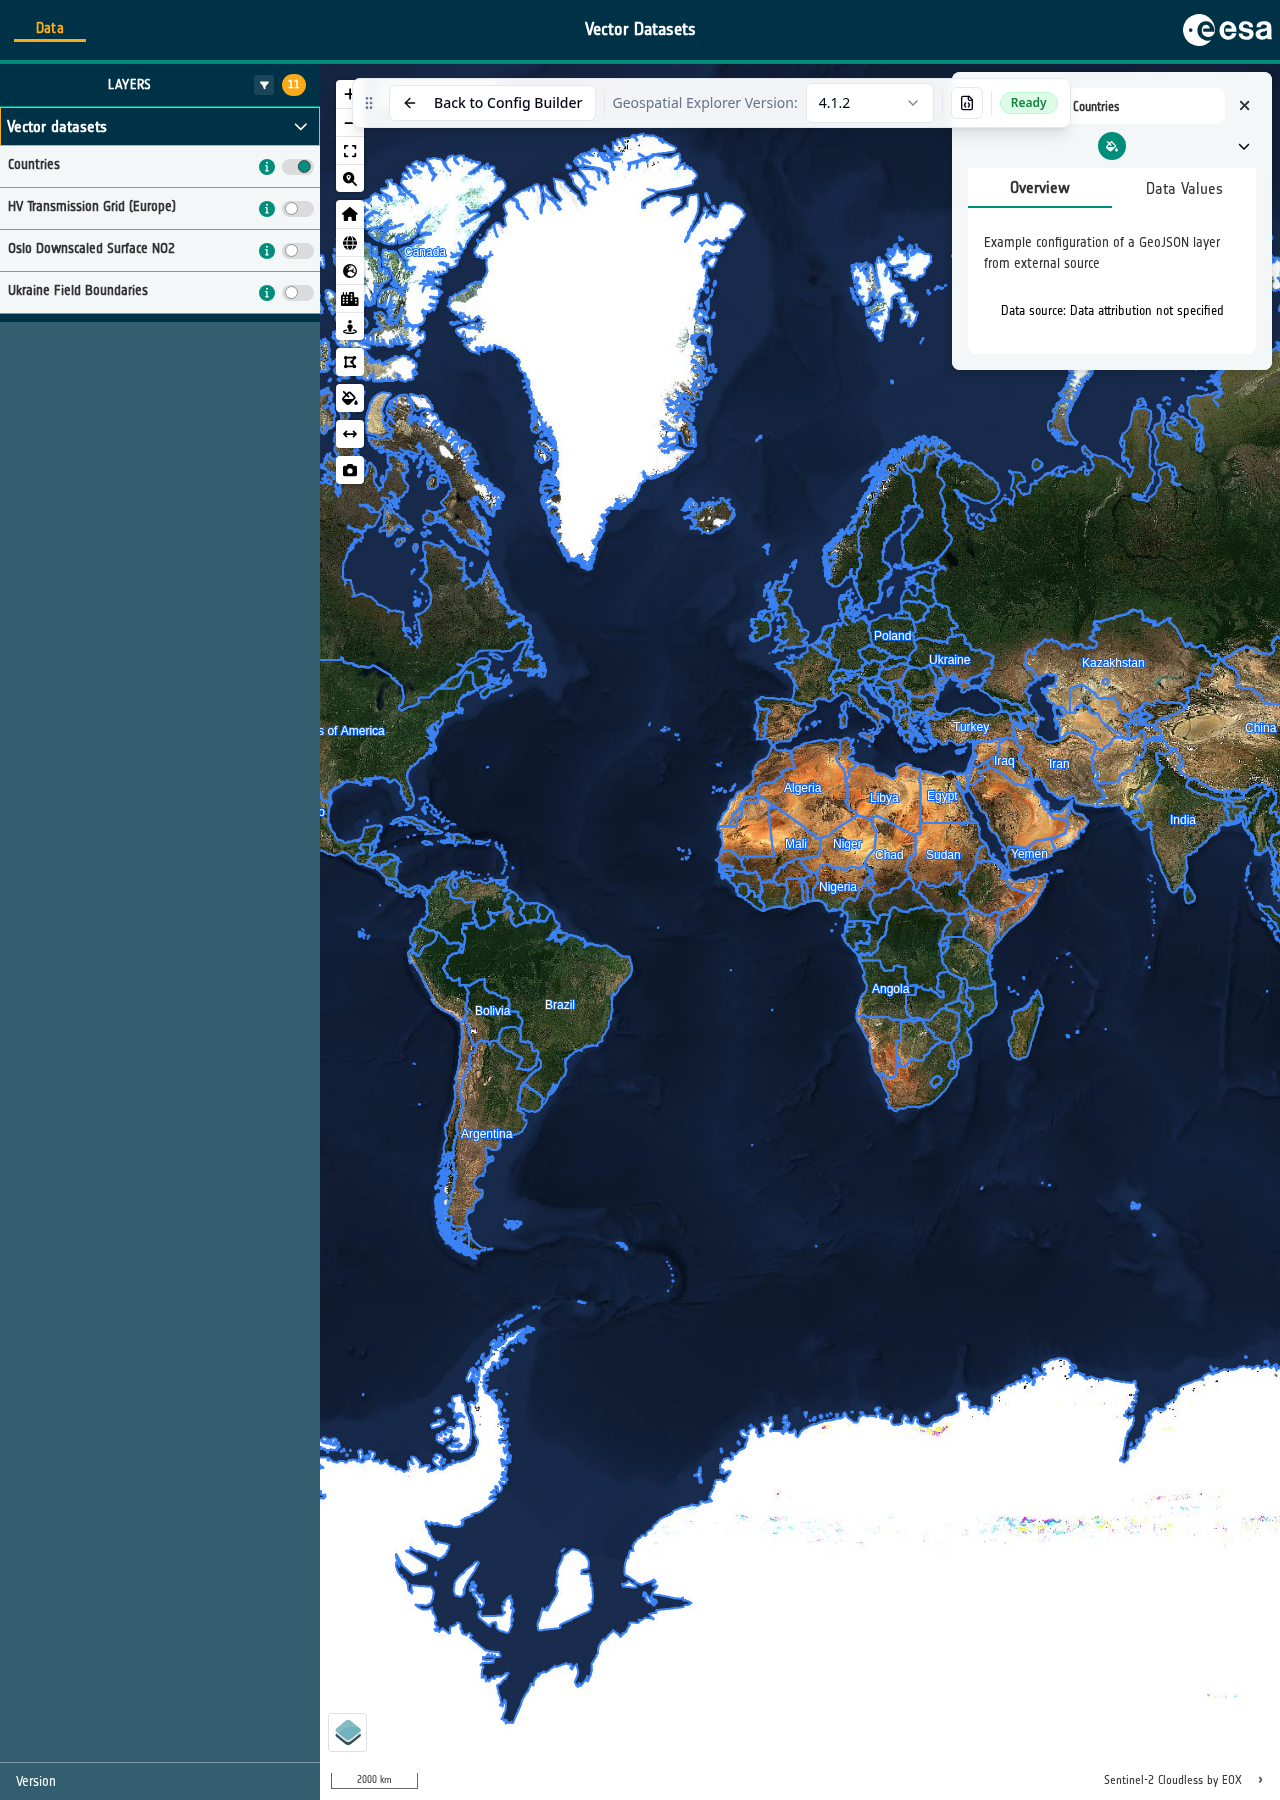
- Select Save, then open Preview and turn on Countries. Check that each country has an outline and a name.
Cross-hatch the field boundaries
-
Return to the Configuration Builder and open Ukraine Field Boundaries. Select the Pen next to Vector Styling, then select Simple uniform.
-
Keep Symbolise as set to Polygons — fill + outline. Set Fill style to Cross hatch, choose contrasting fill and outline colours, then select Create rule and Save.
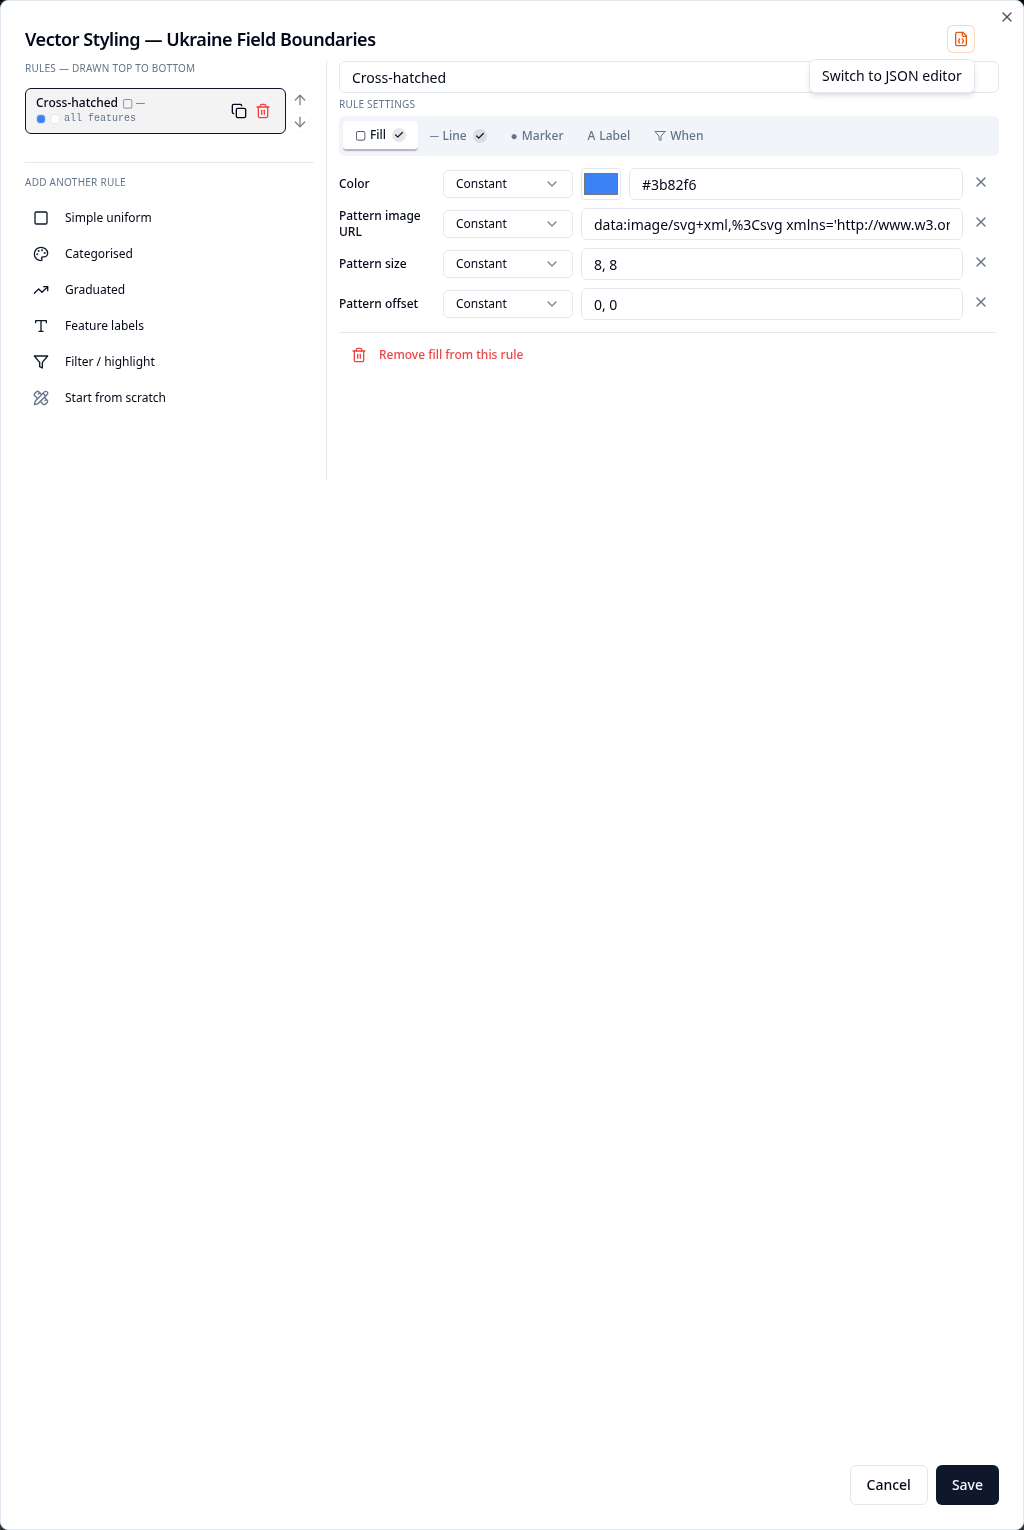
- Open Preview, navigate to Ukraine, turn on Ukraine Field Boundaries and zoom in until the individual fields appear.
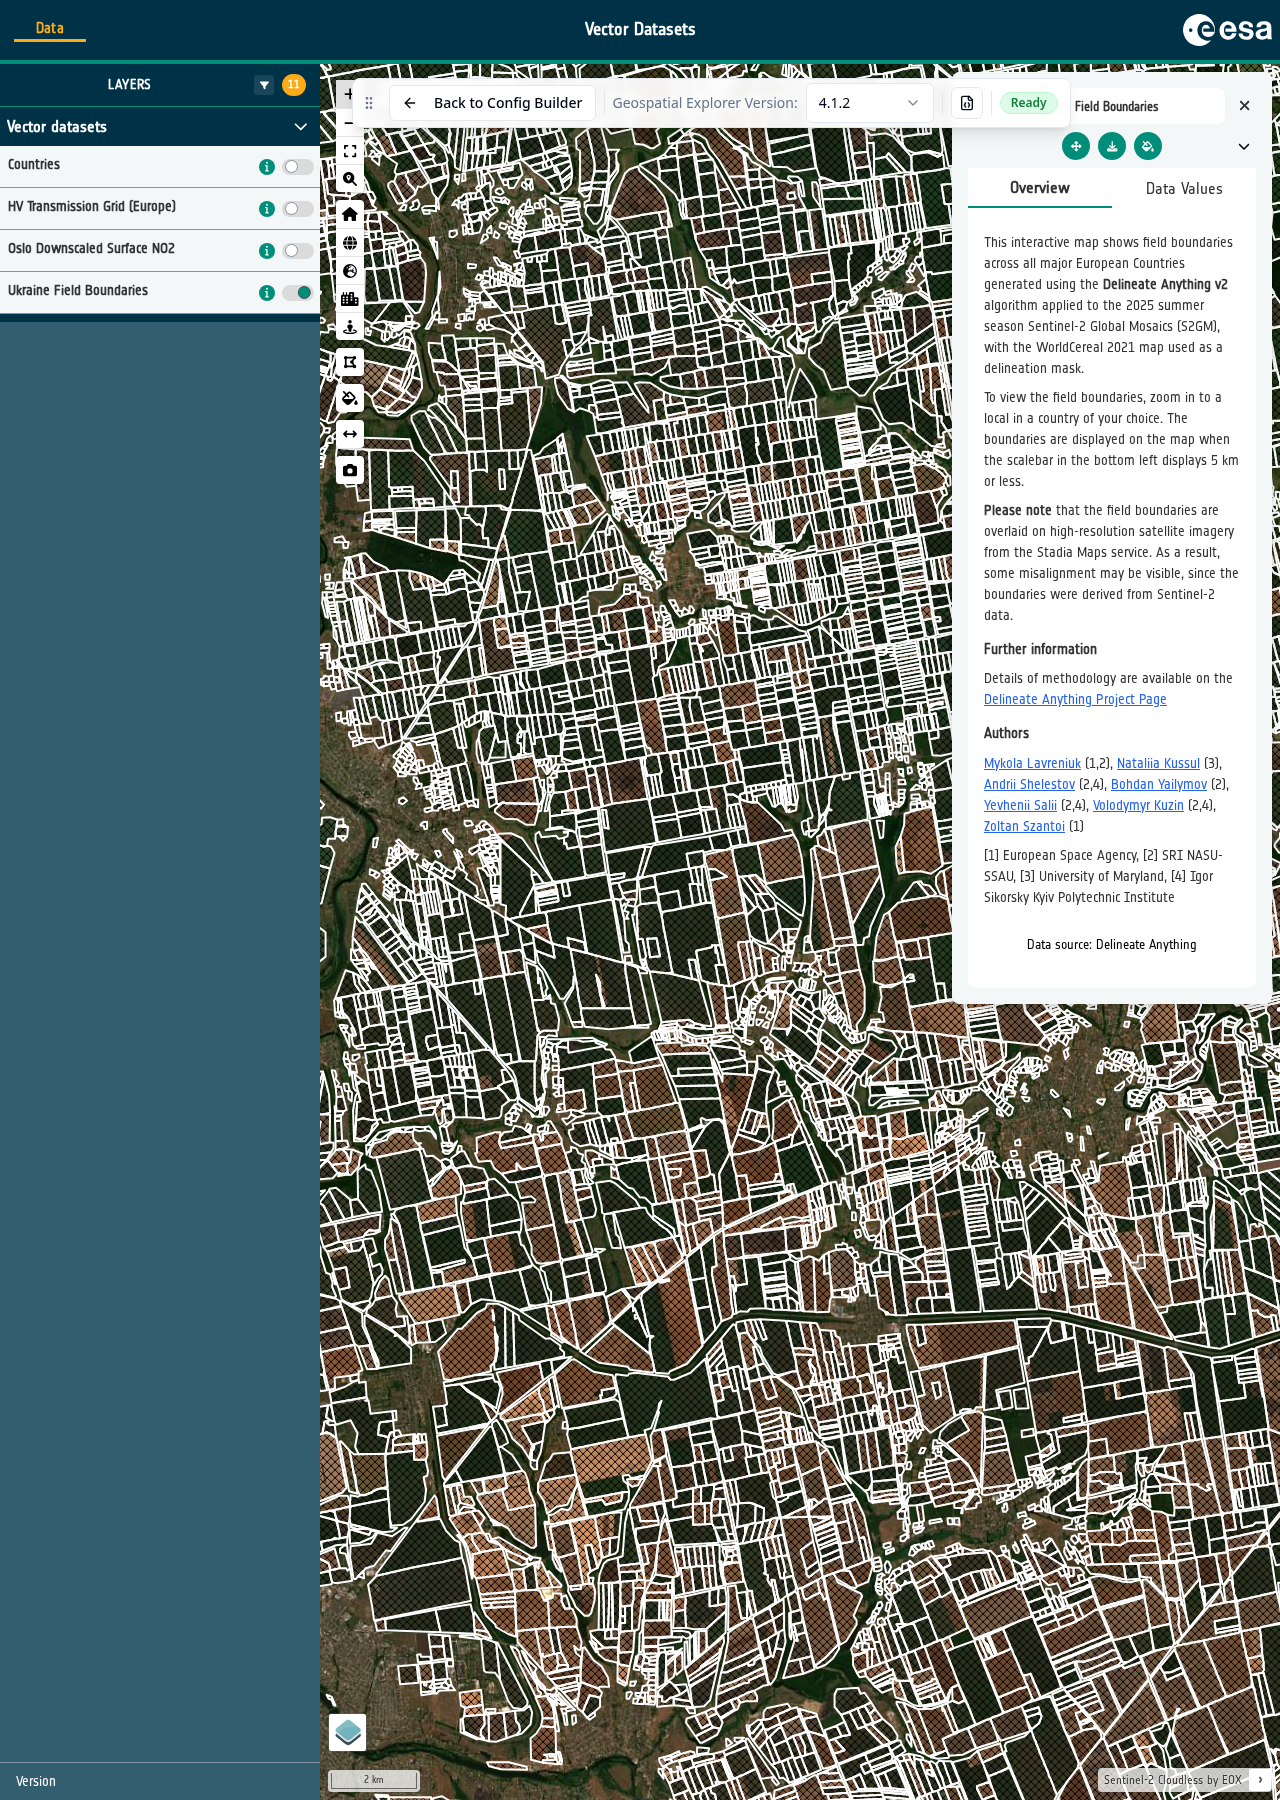
Why do the fields only appear when you zoom in?
The dataset has a minZoom value of 10 in the underlying configuration
JSON. It contains hundreds of thousands of field polygons. Drawing all of
them across Ukraine at a scale where they would not be legible would add a
great deal of unnecessary rendering work, so the Explorer waits until the
map is sufficiently zoomed in.