5-4. Categories for a WMS layer
Now update the World Cover WMS layer you created in Add a WMS layer directly.
Unlike a COG, a WMS or WMTS service cannot be interrogated for its pixel values — there is no way to sample the underlying data, so the class numbers are not available and, in fact, are not relevant here. What we still need are the colours and the labels, so the Explorer can draw a meaningful legend.
Because we already defined a full category set on the COG layer, we can simply copy it across.
- On the Layers tab, edit the World Cover layer card.
- Go to Data Visualisation → Categories → Edit.
-
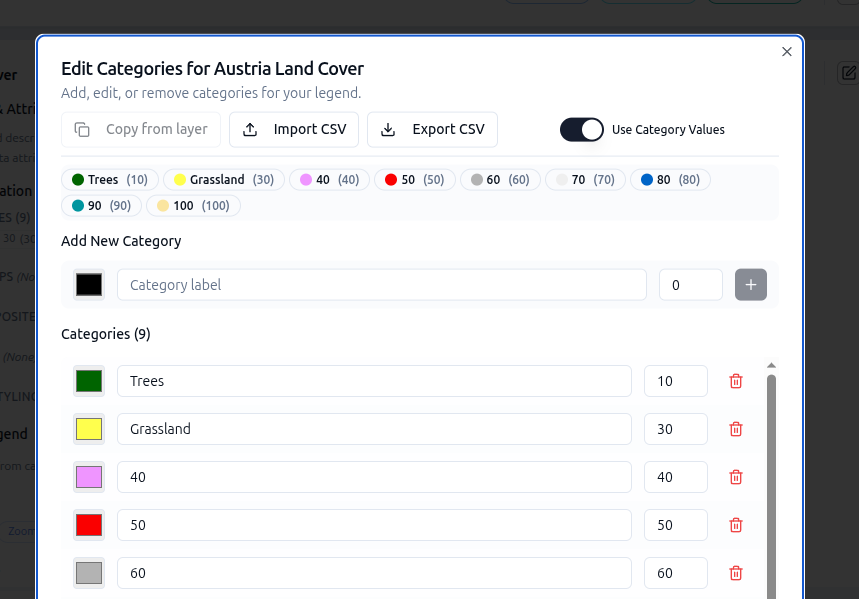
In the categories editor choose Copy from layer and select Austria Land Cover (the COG layer from 5-3. Categories for a COG).
-
Save the layer card and preview. The legend in the Explorer now contains a row per class, using the colours and labels you copied.
If in the last tutorial you only edited the class names that the COG populated, you will not have Shrubland or Mangroves here — neither class is present in Austria, so they were never sampled. If you imported the CSV, the full set will be there.
An alternative for this WMS layer is therefore to import the categories directly from
world-cover-classes.csv, as described in 5-3 step 5. -
(Optional) Open the categories editor again and untoggle Use category values. Save the layer card and preview. The legend still shows the class labels and colours, but the numeric values are no longer displayed — this reflects the fact that class numbers cannot be read from a WMS or WMTS layer.
-
(Optional) In the categories editor, change the colour for one of the classes and save. The legend in the Explorer will now show the new colour for that class. However, for WMS / WMTS layers the actual map styling is determined by the service, so the rendered tiles will not change.
See the full WorldCover class lookup in 5-3. Categories for a COG.