4-3. Experiment with layer controls
The Layer controls section of a layer card decides which interactive controls the Explorer shows for that layer. Open your Above Ground Biomass layer card, find the Controls section, and click the pencil icon to open Edit Controls.
After each change, Save the layer card and open GE Preview to see the effect in the Explorer.
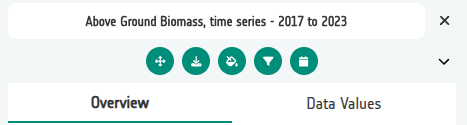
From left to right, the icons are:
- Zoom to — centres the map on the layer.
- Download — downloads the linked file or page.
- Opacity & Blend — fades the layer and changes how it blends with layers underneath.
- Constraints — shows a slider for any constraint configured on the layer.
- Temporal control — opens the time picker for layers with timestamps.
You can test each of these controls on the Above Ground Biomass layer you created earlier.
Zoom to Center
Adds a zoom button that moves the map to the layer. There are two options for where it zooms to.
Layer bounds — zooms to the extent of the data itself.
- Tick Zoom to Center and choose Layer bounds.
- Save, then open GE Preview.
- Pan and zoom the map somewhere else, then click the layer's zoom button.
Custom extent — zooms to coordinates you supply, useful when you want to land on a particular region rather than the whole dataset.
- Re-open Edit Controls and switch to Custom extent.
-
Enter an extent as
xmin, ymin, xmax, ymax, for example, for the UK only:-8, 50, 2, 60 -
Save, preview again, and compare the result with the layer bounds behaviour.
Tip
Some service types, such as XYZ tile services, do not declare their own extent — they are treated as global. For these layers, use Custom extent if you want the zoom button to focus on a specific area rather than the whole world.
Note
If the extent is incomplete or not four valid numbers, the control falls back to zooming to the layer bounds.
Opacity Slider
Lets users fade the layer so they can see what is underneath it.
- Tick Opacity Slider and Save.
- In GE Preview, drag the slider and watch the base map show through.
Blend Controls
Exposes blend modes (multiply, overlay, and so on) that change how the layer combines with the layers below it.
- Tick Blend Controls and Save.
- In GE Preview, try a couple of blend modes over your base map.
Tip
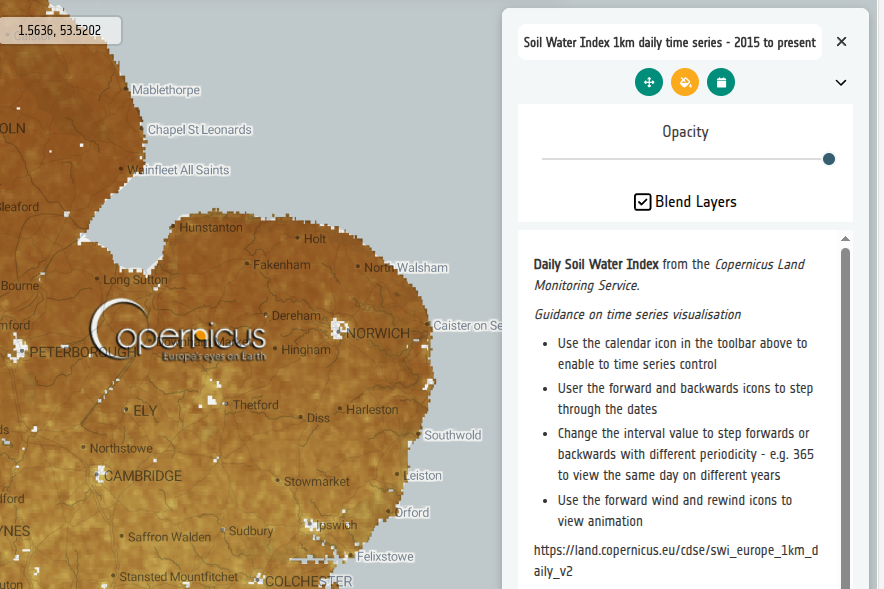
A good way to explore this is to load the Comprehensive Demo example config, open the Soil Water Index layer card, and experiment with different blend modes against the base map and layers underneath.
Constraint Slider
Surfaces a slider for filtering the layer by a configured constraint — for example only showing values above a threshold.
Do this on the Above Ground Biomass layer you have been working with.
- On the Above Ground Biomass layer card, tick Constraint Slider and Save.
Constraints come later
This control only shows a slider once a constraint is defined on the layer itself. The separate Tutorial 7 — Constraints covers creating filters that use values from secondary layers.
Temporal Controls
Shows the time picker for layers that have timestamps. The Time picker dropdown (None, Time, Days, Months, Years) sets the granularity presented to the user.
Leave this one alone for now — we come back to it in Tutorial 6 — Time series.
Download
Adds a download button to the layer card. The optional URL field controls where that button points.
-
Tick Download and paste the URL for the Above Ground Biomass COG:
https://eoresults.esa.int/d/FCM-AGB-100m/2023/01/01/FCM-AGB-100m-2023/FCM_Europe_demo_2023_AGB.tif -
Save, then open GE Preview.
- Click the download button on the layer card and check the download starts.
Download links
You can either paste the COG URL (which triggers a direct download) or a link to somewhere more useful — for example the dataset's STAC record on the PRR.
Did you remember to export?
If not, now is a good moment. See Exporting and reloading config.