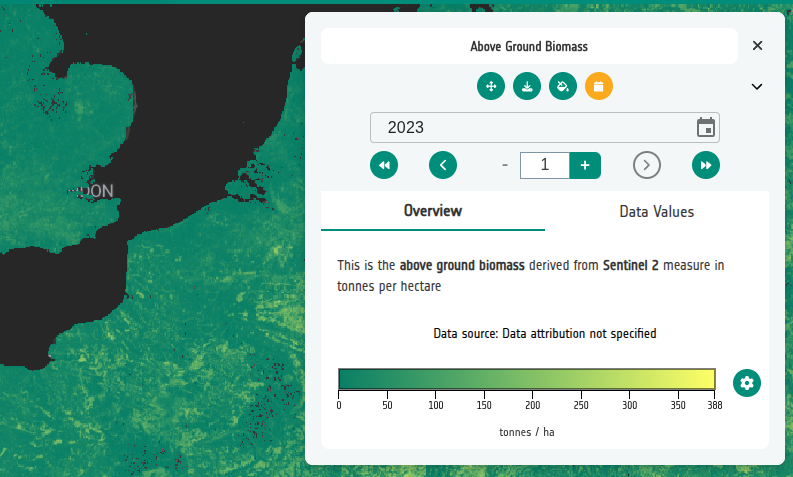
6-3. Temporal control with manual timestamps
Attach timestamps to your Above Ground Biomass layer (ABG) datasets by hand.
- Edit the AGB layer card. Scroll down to the Controls section, toggle Temporal control on and set the dropdown to Years. Save and exit.
- On the Datasets tab, edit the AGB dataset. A timestamp field is now
available. Enter the date matching the data — a full date like
2023-01-01is required, but with the granularity set to Years the GE will show it simply as2023. Save and return to the layer. - Add another dataset via Direct connection → COG and paste in this URL:
https://eoresults.esa.int/d/FCM-AGB-100m/2021/01/01/FCM-AGB-100m-2021/FCM_Europe_demo_2021_AGB.tif
Set the timestamp to 2021-01-01 and save.
-
Optionally, open the layer's JSON editor and confirm that each dataset now has a
timestampfield. -
Preview and use the temporal control to step between years. The changes are subtle but visible if you look closely — the year shown in the temporal control updates and the layer values change to match the selected timestamp.